Making Snap Moulds: Positive
- alyshajadeoconnor
- Feb 17, 2022
- 3 min read
Hi there and welcome back to my blog.
This week we are going to be making the positive core for the snap moulds, enjoy!
Figures 1, 2, 3, 4, 5, 6 & 7: Making the Nose Positive Mould (O'Connor, 2022).
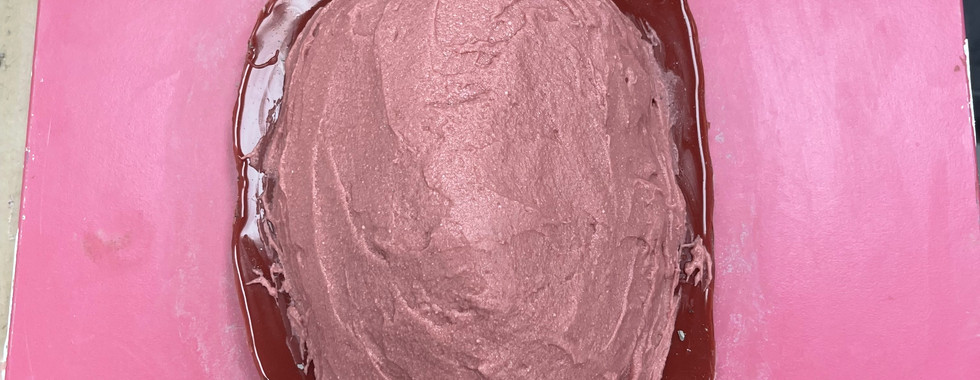
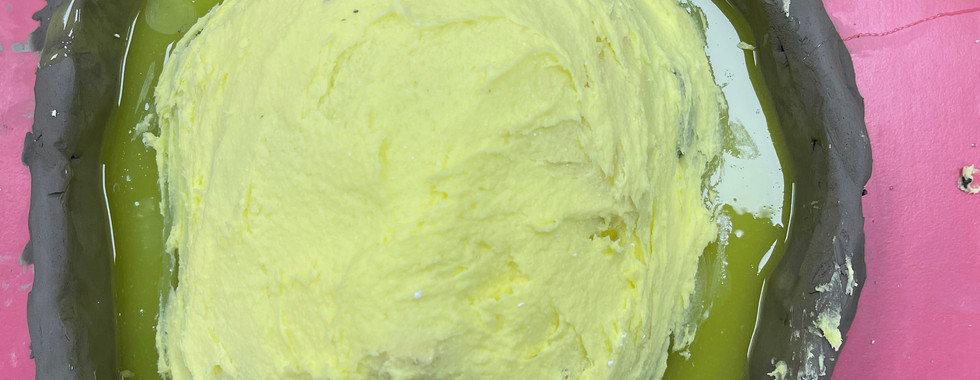
Figures 1 - 7 show the beginning process of making the positive mould for the nose piece. The nose section was blocked off in the master mould using buff clay. Then the same process as making the first initial core was followed: correcting the core, adding keys and building a wall, adding silicone layers, adding poly fibre silicone layers and adding a jacket to protect and strengthen the mould. When creating the keys, the position of the keys is extremely important because they should not get in the way of the sculpt. To stop the keys getting in the way of the sculpt, when creating them the sculpt was put on to the plaster core and the keys were made in positions where the sculpt did not touch. Also in this instance, a plaster jacket was created using herculite plaster and mod rock. A plaster jacket was made this time instead of a fibreglass jacket because it is much cheaper and less time consuming to do, it would have been a lot of effort and cost too much money to do a fibre glass jacket for such a small core.
The exact same process was repeated for the forehead positive mould (Figures 8, 9, 10, 11, 12, 13 & 14)
Figures 8, 9, 10, 11, 12, 13 & 14: Making the Forehead Positive Mould (O'Connor, 2022).

Polyurethane resin is going to be used to make the snap moulds. Polyurethane is fast setting and extremely strong making it a great material to use for the squash mould (Neat, 2020).
A brush coat layer was applied to the silicone cast, to ensure that every detail has been picked up by the polyurethane and every crevice and edge got covered. Once this had set, the mould could be filled. Because this core was going to be so small, the polyurethane resin was able to be poured straight into the mould as this was not going to waste any product or make it very heavy.
Figures 16, 17 & 18: Filling the Forehead Mould Positive (O'Connor, 2022).
However, because the forehead mould was bigger it would have been waste to use just straight polyurethane. 3 brush coat layers had been done on this piece because of the size of it. Once these had been done two layers of polyurethane mixed with poly fibre was then applied. The poly fibre was used to bulk up the polyurethane and make it thicker. On the second layer of poly fibre, scrim was added and this was put into the polyurethane mix as well as poking out because this was going to be used to make the polyurethane and plaster mix. The rest of the mould was filled with plaster to keep the core more lightweight and cost friendly.

Once these had set, both cores were now ready for the sculpts to be put on and finished sculpting (Figure 19).
Thank you fro reading this week's blog!
Next week we will be finishing off the sculpts and making the negative part of the squash moulds.
See you then!
Alysha:)
Reference List
Neat, D. (2020) Polyurethane Resin [Online]. Available at https://davidneat.wordpress.com/materials/casting/polyurethane-resin/ (Accessed 1 February 2022).
O'Connor, A. (2022) Filling the Forehead Positive Mould [Image]. York.
O'Connor, A. (2022) Filling the Nose Positive Mould [Image]. York.
O'Connor, A. (2022) Finished Positive Squash Moulds [Image]. York.
O'Connor, A. (2022) Making the Forehead Positive Mould [Images]. York.
O'Connor, A. (2022) Making the Nose Positive Mould [Images]. York.


Comments